Ge Adora Side-by-Side Refrigerator Manual: Comprehensive Guide
Today’s date is 04/21/2026 at 03:05:43. This manual provides detailed instructions for your Ge Adora refrigerator, ensuring optimal performance and longevity of your appliance.
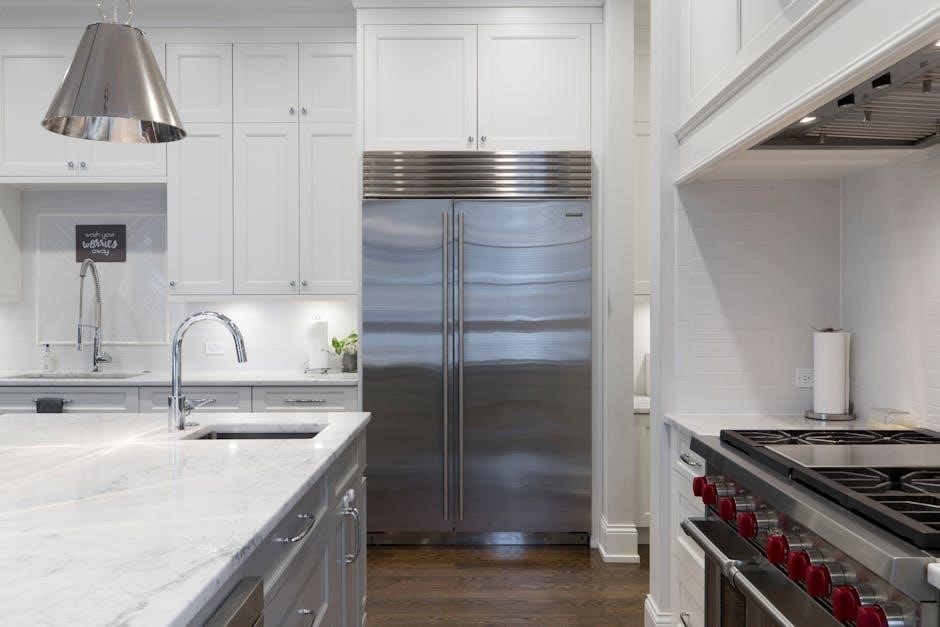
Welcome! This section introduces you to your new Ge Adora side-by-side refrigerator. We understand that a new appliance represents a significant investment, and we’re committed to ensuring you get the most out of it. This manual serves as a comprehensive resource, guiding you through every aspect of operation, maintenance, and troubleshooting.
The Ge Adora series is designed with both convenience and efficiency in mind, offering features like advanced temperature management, spacious storage, and convenient dispensing systems. Before you begin, please take the time to thoroughly read this manual. Familiarizing yourself with the refrigerator’s features and safety precautions will contribute to years of reliable service. This guide will help you unlock the full potential of your appliance, maximizing food preservation and simplifying your daily routine.
Understanding Your Refrigerator Model Number
Locating your model number is crucial for accessing specific support, ordering replacement parts, and downloading tailored documentation. The model number is typically found on a sticker located inside the refrigerator compartment, often on the upper or side wall. It’s a unique alphanumeric code that identifies the exact specifications of your Ge Adora side-by-side refrigerator.
This number provides valuable information about the refrigerator’s features, manufacturing date, and specific components. When contacting customer service or searching for parts online, having your model number readily available will expedite the process and ensure you receive the correct assistance. Please record your model number in a safe place for future reference. Understanding this code unlocks access to a wealth of resources designed to optimize your refrigerator’s performance and longevity.
Safety Precautions and Warnings
Prioritize safety when installing and operating your Ge Adora side-by-side refrigerator. Always disconnect the power supply before cleaning or performing maintenance. Avoid using flammable sprays or solvents near the appliance, as they pose a fire hazard. Ensure the refrigerator is properly grounded to prevent electrical shock.
Do not store explosive substances inside the refrigerator. Keep the ventilation openings clear of obstructions to ensure efficient cooling. Supervise children around the appliance, particularly regarding the water and ice dispenser. Never attempt to repair the refrigerator yourself; contact a qualified technician for assistance. Ignoring these precautions could result in injury or damage. Read all warnings carefully before use to guarantee safe operation and a long lifespan for your refrigerator.
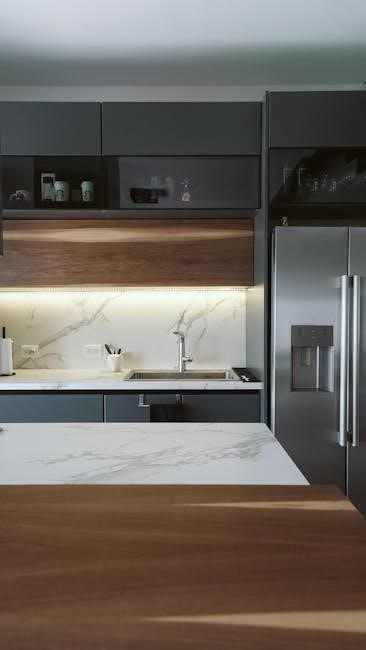
Refrigerator Features and Components
Explore the innovative design! This section details all exterior and interior components, including the dispenser, shelves, drawers, bins, and the water/ice system.
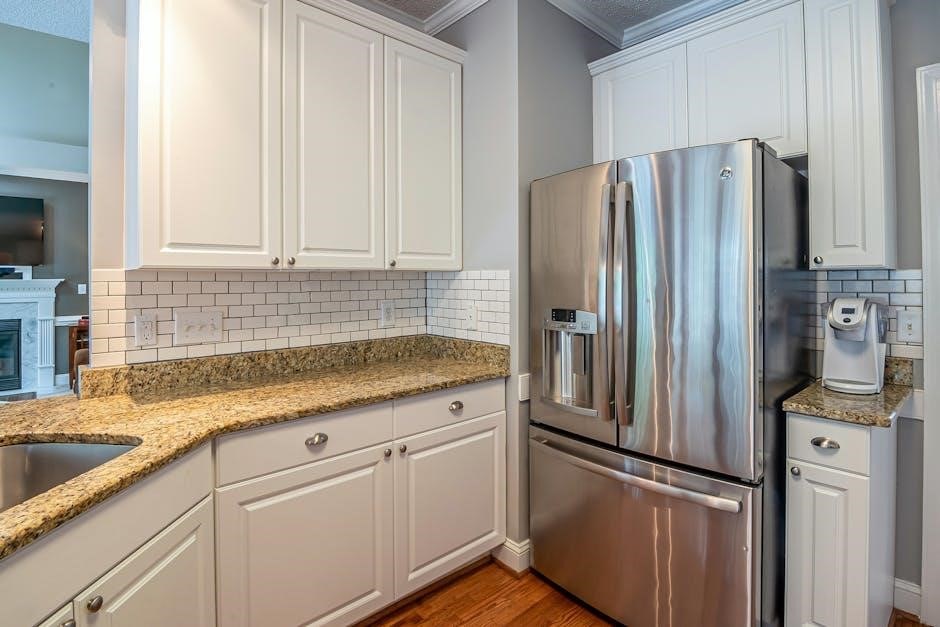
Exterior Features: Dispenser, Controls, and Doors
The exterior of your Ge Adora refrigerator is designed for convenience and style. The dispenser area provides easy access to chilled water and cubed or crushed ice, featuring customizable settings for preferred dispensing volumes. Electronic controls, typically located on the dispenser panel, allow precise temperature adjustments for both the refrigerator and freezer compartments. These controls often include options for quick cooling, ice boost, and door alarm silencing.
Door features include adjustable door bins for flexible storage of various items like bottles, jars, and condiments. The doors themselves are designed with a smooth, easy-to-clean finish. Some models may incorporate a door-in-door feature for quick access to frequently used items without opening the entire refrigerator, conserving energy. Ensure proper door sealing for optimal cooling performance and energy efficiency; inspect the gaskets regularly for damage.
Interior Features: Shelves, Drawers, and Bins
The interior of your Ge Adora side-by-side refrigerator is thoughtfully designed for optimal organization and food preservation. Adjustable shelves, often made of spill-proof glass, allow customization of storage space to accommodate items of varying heights. Humidity-controlled crisper drawers help extend the freshness of fruits and vegetables by maintaining ideal moisture levels. Full-width drawers provide ample space for large platters or deli items.
Door bins offer convenient storage for frequently accessed items like milk, juice, and condiments. Some models feature adjustable gallon door bins to accommodate larger containers. Dedicated meat and cheese drawers help maintain optimal temperatures for these perishable items. LED lighting illuminates the interior, providing bright and energy-efficient visibility. Consider utilizing shelf liners to protect surfaces and simplify cleaning.
Water and Ice Dispenser System Overview
Your Ge Adora refrigerator features a convenient water and ice dispenser located on the exterior door. This system provides chilled, filtered water and ice on demand, eliminating the need to open the refrigerator frequently. The dispenser utilizes a sophisticated filtration system to remove impurities, ensuring clean and great-tasting water. Ice production occurs within the freezer compartment, and the dispenser offers both cubed and crushed ice options, selectable via control panel settings.
Regular filter replacement is crucial for maintaining water quality and dispenser functionality. The system includes indicators to alert you when a filter change is needed. Proper water line connection is essential for operation; ensure the water supply line is securely connected and free of kinks. Always dispense water for a short period after filter replacement to purge air from the system.

Operating Your Refrigerator
This section details the proper operation of your Ge Adora refrigerator, covering initial setup, temperature adjustments, and utilizing the water and ice dispenser features effectively.
Initial Setup and Powering On
Before first use, carefully unpack your Ge Adora side-by-side refrigerator and inspect it for any shipping damage. Remove all packing materials, both inside and outside the appliance, including protective films and tape. Ensure the refrigerator is positioned on a level surface; adjust the leveling feet if necessary to prevent wobbling and ensure proper door sealing.
Clean the interior with a mild detergent and warm water before loading with food; Connect the refrigerator to a dedicated, grounded electrical outlet. Avoid using extension cords. Allow the refrigerator to run for at least two to four hours to reach its optimal operating temperature before adding food items. During this initial period, the ice maker will begin its first cycle, discarding the initial batch of ice. Verify the water supply line is correctly connected and the water supply valve is fully open for proper dispenser function.

Temperature Control Settings – Refrigerator Section
The refrigerator temperature is adjusted using the control panel located inside the refrigerator compartment. Typically, a dial or digital display allows you to select your desired cooling level. Settings usually range from 1 (warmest) to 9 (coldest), with 5 being the recommended factory setting for optimal food preservation.
Lower numbers provide less cooling, suitable for items needing less refrigeration, while higher numbers deliver more intense cooling. Allow 24 hours after adjusting the temperature for the refrigerator to stabilize. Avoid frequent adjustments; small changes are best. Monitor food temperatures to ensure they remain within safe ranges. Remember, door openings and the amount of food stored can affect internal temperatures, requiring occasional fine-tuning of the settings.
Temperature Control Settings – Freezer Section
The freezer temperature is also controlled via the internal control panel, often linked to the refrigerator settings but with independent adjustment capabilities. Similar to the refrigerator, a dial or digital display allows selection from a range, typically 1 (warmest) to 9 (coldest), with 5 as the factory recommendation for long-term food storage.
Maintaining a consistent freezer temperature is crucial for preventing freezer burn and preserving food quality. Lower settings are less energy-intensive but may not adequately freeze items. Higher settings ensure thorough freezing but consume more energy. Allow 24 hours for stabilization after adjustments. Avoid frequent changes; monitor food to confirm proper freezing. Remember, frequent door openings impact temperature, necessitating occasional recalibration.
Using the Water Dispenser
To dispense water, firmly press your glass against the dispenser paddle located on the refrigerator door. The paddle is typically designed for both momentary and sustained activation, allowing you to fill containers of various sizes. A locking feature may be present to prevent accidental dispensing, especially important for households with children.
Ensure the water supply line is properly connected and the water filter is functioning correctly for optimal water quality and flow. If the water flow is weak, check the filter and water line for obstructions. Avoid using excessive force on the paddle, as this could damage the dispenser mechanism. Regularly wipe the dispenser area to maintain cleanliness and hygiene.
Using the Ice Dispenser
To dispense ice, press your glass against the ice dispenser paddle, also located on the refrigerator door. This activates the ice chute, releasing cubed or crushed ice, depending on your selected setting. Many models offer a switch to toggle between cubed and crushed ice – consult your refrigerator’s control panel for details.
If the ice dispenser isn’t working, verify the ice maker is turned on and has sufficient time to produce ice. Check for any ice blockage in the chute or bin. Avoid using excessive force when dispensing, and never insert objects into the ice chute. Regularly empty the ice bin to prevent ice from melting and refreezing, which can cause clumping.

Maintenance and Cleaning
Regular cleaning extends your refrigerator’s life. This section details how to maintain optimal performance through interior, exterior, filter, and defrosting procedures.
Cleaning the Interior
To ensure food safety and optimal performance, regularly clean the interior of your Ge Adora side-by-side refrigerator. Begin by disconnecting the refrigerator from the power source. Remove all food items, shelves, drawers, and bins. Wash these removable parts with a mild detergent and warm water; avoid abrasive cleaners which can damage surfaces.
For the interior walls and floor, create a cleaning solution of baking soda and water – approximately one tablespoon of baking soda per quart of water. This solution effectively neutralizes odors and gently cleans. Apply the solution with a soft cloth or sponge, wiping down all interior surfaces. Rinse thoroughly with clean water and dry with a clean cloth.
Pay special attention to spills and stains, addressing them promptly to prevent permanent discoloration or odor buildup. After cleaning and drying all components, replace the shelves, drawers, and bins, then reconnect the refrigerator to the power source.
Cleaning the Exterior
Maintaining a clean exterior enhances the appearance of your Ge Adora side-by-side refrigerator and protects its finish. Begin by unplugging the appliance for safety. Use a mild dish soap and warm water solution to wipe down the doors, sides, and top of the refrigerator. Avoid abrasive cleaners, scouring pads, or harsh chemicals, as these can scratch or damage the surface.
For stainless steel models, use a stainless steel cleaner specifically designed for appliances, following the manufacturer’s instructions. Wipe in the direction of the grain to prevent streaks. Pay attention to the door handles, as they accumulate fingerprints and smudges. Rinse with clean water and dry thoroughly with a soft, clean cloth.
Regularly cleaning the exterior prevents buildup and keeps your refrigerator looking its best. Remember to clean the dispenser area as well, using a damp cloth;
Replacing the Water Filter
Regular water filter replacement ensures clean, fresh-tasting water and ice from your Ge Adora refrigerator. The frequency depends on your water quality and usage, typically every six months. First, locate the water filter, usually inside the refrigerator compartment, often in the upper-right corner or at the base grille.
Turn off the water supply to the refrigerator. Gently twist and pull the old filter to remove it, being prepared for a small amount of water spillage. Lubricate the O-rings of the new filter with water. Align the new filter and firmly push it into place until it locks.
Turn the water supply back on and flush the system by dispensing water for several minutes to remove any air or debris. Reset the filter indicator light according to the instructions in your refrigerator’s control panel.
Replacing the Air Filter
Maintaining optimal air quality within your Ge Adora refrigerator is crucial for preserving food freshness and eliminating odors. The air filter should be replaced approximately every six months, though frequency can vary based on usage and environmental factors. Locate the air filter, typically found within the refrigerator compartment, often near the top or back.
Gently remove the old air filter, noting its orientation for correct re-installation of the new one. Insert the new air filter, ensuring it clicks securely into place. Some models may require a slight twist to lock it.
Reset the air filter indicator light on the control panel, following the specific instructions for your model. Regularly replacing the air filter contributes to a healthier and more efficient refrigerator operation.
Defrosting the Freezer (Manual Defrost Models)
If your Ge Adora model features manual defrost, periodic defrosting is necessary to prevent excessive ice buildup, which reduces freezer efficiency. Begin by emptying the freezer completely, transferring food to a cooler or another freezer. Disconnect the refrigerator from the power source to ensure safety during the process.
Place towels or pans inside the freezer to collect melting water. Allow the ice to thaw naturally; do not use sharp objects to scrape it off, as this can damage the freezer lining.
Once all the ice has melted, thoroughly clean and dry the interior before reconnecting the refrigerator to power and returning the food.
Troubleshooting Common Issues
This section details solutions for typical problems, including cooling failures, ice maker malfunctions, dispenser issues, unusual noises, and deciphering error codes effectively.
Refrigerator Not Cooling
If your Ge Adora refrigerator isn’t cooling, first verify the power supply and ensure the unit is properly plugged into a functioning outlet. Check the temperature control settings within both the refrigerator and freezer compartments; accidental adjustments can cause insufficient cooling. Confirm that the condenser coils, typically located on the back or bottom of the refrigerator, are clean and free from dust accumulation – dirty coils hinder heat dissipation.
Inspect the door seals for any gaps or damage, as compromised seals allow warm air to enter, impacting cooling efficiency. A blocked air vent inside the refrigerator can also restrict airflow. Finally, if equipped, examine the damper control between the freezer and refrigerator; a closed damper prevents cold air from circulating. If these steps don’t resolve the issue, professional service may be required to diagnose potential compressor or refrigerant problems.
Ice Maker Not Working
When your Ge Adora ice maker fails to produce ice, begin by confirming it’s switched ‘on’ – often a simple on/off switch within the ice maker compartment. Ensure the water supply line connected to the refrigerator is fully open and hasn’t been accidentally shut off. A frozen water supply line can also prevent ice production; inspect for any ice blockages.
Check the freezer temperature; it must be sufficiently cold (typically below 10°F) for proper ice formation. If the ice bin is full, the ice maker will automatically stop production. Finally, verify the ice maker arm isn’t stuck in the ‘off’ position. If issues persist, the water inlet valve or the ice maker module itself might require professional inspection and potential replacement.
Water Dispenser Not Working
If your Ge Adora’s water dispenser isn’t functioning, first verify the water supply line is correctly connected and fully open. A kinked or frozen water line is a common culprit, so inspect its entire length for obstructions. Confirm the refrigerator door switch is engaging properly; this switch activates the dispenser when the door is opened.
Also, check if the water filter needs replacing – a clogged filter significantly reduces water flow. Ensure the dispenser lock feature isn’t accidentally activated, preventing water dispensing. If these steps don’t resolve the issue, the water inlet valve might be faulty, requiring professional diagnosis and potential replacement to restore water dispensing functionality.
Unusual Noises
Hearing strange sounds from your Ge Adora refrigerator? Several factors could be the cause. A rattling noise often indicates items are vibrating against each other inside the refrigerator or freezer; rearrange contents to eliminate contact. Humming sounds are generally normal, stemming from the compressor and fan motors during operation.
However, excessively loud or unusual humming could signal a failing compressor. Clicking sounds might indicate the defrost timer cycling. If you hear buzzing, check the condenser fan for obstructions. Persistent or worsening noises warrant professional attention, as they could indicate a more serious mechanical issue requiring repair or component replacement.
Error Codes and Their Meanings
Your Ge Adora refrigerator utilizes error codes to diagnose potential issues. These codes appear on the display panel, providing valuable information for troubleshooting. A code like “E1” often indicates an ice maker malfunction, potentially due to a frozen water supply line or a faulty ice maker module. “E2” typically signals a problem with the dispenser, possibly a stuck ice cube or a water valve issue.
“E3” may point to a temperature sensor failure, while “E4” could indicate a defrost system problem. Consult the complete error code list in the appendix of this manual or on the GE Appliances website for a comprehensive understanding of each code and recommended solutions. Ignoring error codes can lead to further damage.
Parts Diagram and Replacement
Locating replacement parts is easy! Detailed diagrams illustrate component placement, while this section guides you through ordering bulbs, filters, and other necessary replacements.
Locating Replacement Parts
Finding the correct replacement parts for your Ge Adora side-by-side refrigerator is a straightforward process. Begin by referencing your refrigerator’s model number, typically found on a label inside the refrigerator compartment, often on the upper wall. This number is crucial for ensuring compatibility.
Once you have the model number, you can utilize several resources. The official GE Appliances website (www.geappliances.com) offers a comprehensive parts catalog searchable by model number. Alternatively, numerous online appliance parts retailers specialize in GE components. Be sure to verify the retailer’s reputation and return policy before making a purchase.
When searching, use specific part names and your model number to narrow down the results. Diagrams are often available to help you visually identify the correct component. If you are unsure about a part, consult the parts diagram within this manual or contact GE Appliances customer support for assistance. Always prioritize genuine GE replacement parts to maintain the refrigerator’s performance and warranty validity.
Common Replacement Parts (Bulbs, Filters, etc.)
Several parts commonly require replacement during the lifespan of your Ge Adora refrigerator. Interior light bulbs are frequent replacements, easily accessible behind a cover panel. Water filters should be replaced every six months, or as indicated by the filter status indicator, to maintain water purity and dispenser performance.
Air filters, if equipped, also require periodic replacement – typically every six months – to ensure optimal air quality and odor control within the refrigerator. Ice maker components, such as the water inlet valve or ice maker module, may need replacing if the ice maker malfunctions. Door bins and shelves are prone to breakage and are readily available for replacement.
Always disconnect power before replacing any parts. Refer to the “Parts Diagram” section for visual guidance and the “Maintenance and Cleaning” section for filter replacement instructions. Using genuine GE replacement parts is recommended for optimal performance and to avoid voiding your warranty.